
How to create a course on Wooflash?
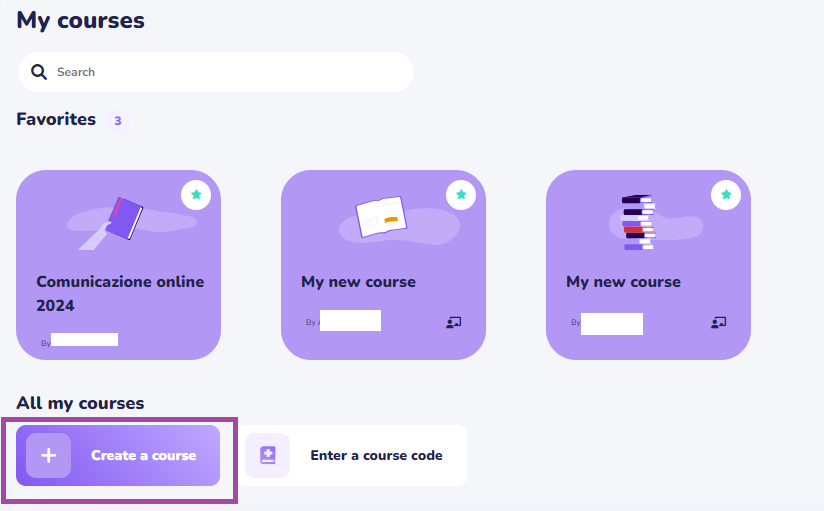
Once you have logged in to Wooflash, to create a course you have to click on “+ Create a course”:
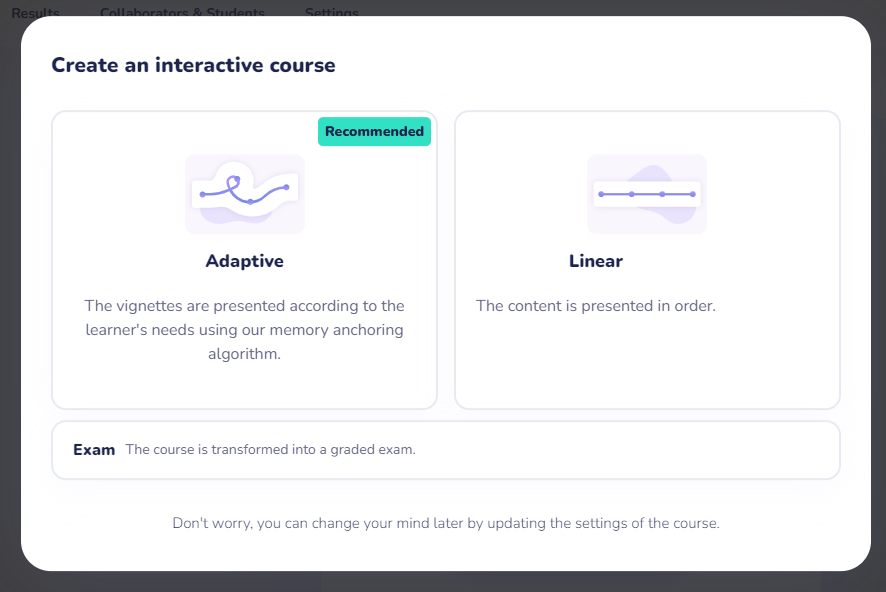
On the next screen, you will be able to chose if you want an adaptive, linear or an exam course:
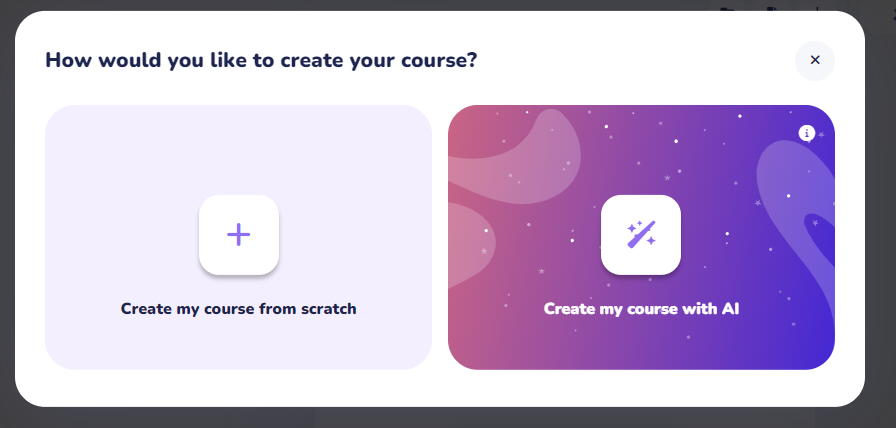
You will then be able to chose if you want to create your course from scratch or with the help of AI:
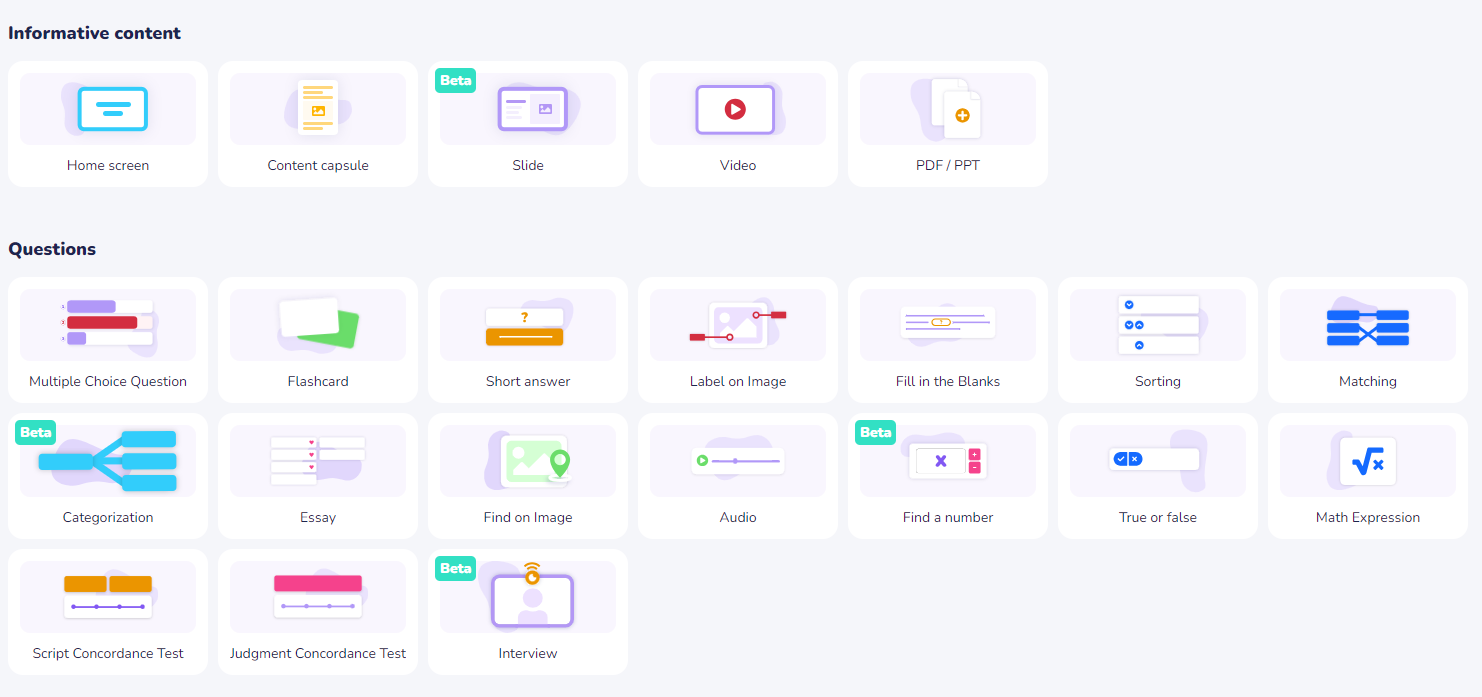
If you chose to create your course from scratch, you will be able to decide if you want to insert some informative content (like a home screen, a slide or a PDF document) or if you want different kinds of questions:
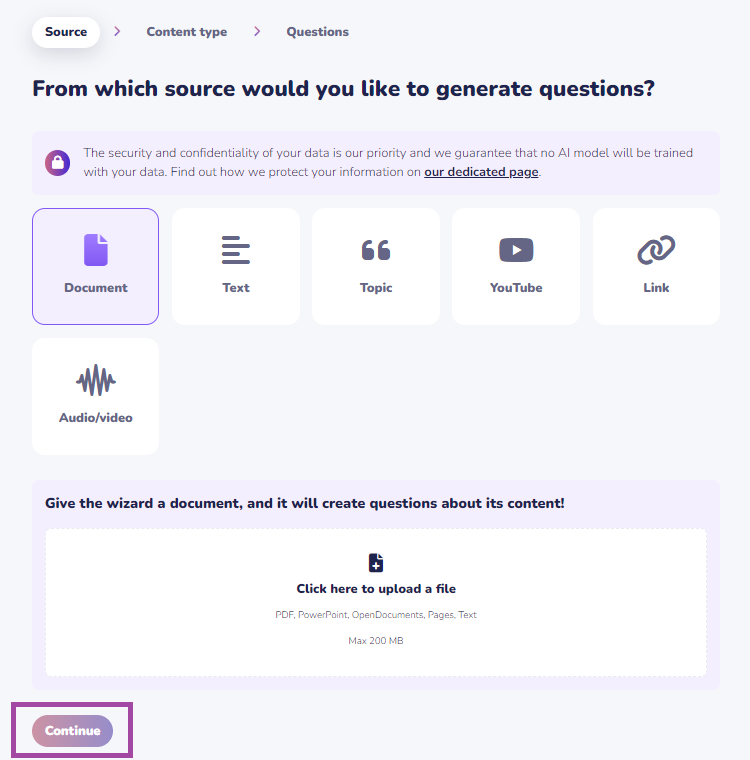
On the other hand, if you choose to use AI, you can give already existing material to the platform, like a PDF document, to have it create questions. To do so, you have to select which type of source you are using, upload the file in the designated area and click on “Continue”:
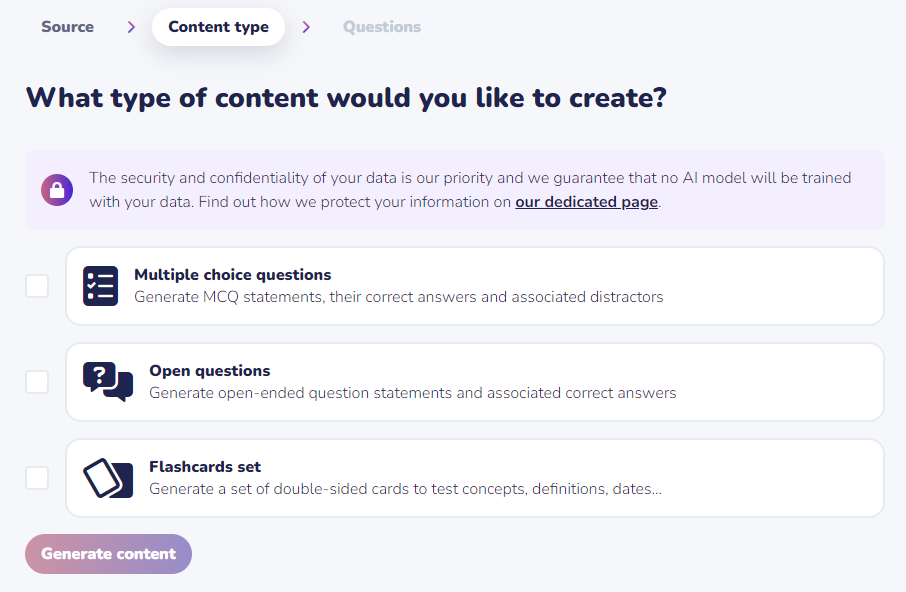
Now you can choose the type of content you want to create, this means, if you want multiple choice questions, open questions, or flashcards sets. You can choose one or more types of content, to validate your choice click on “Generate content”:
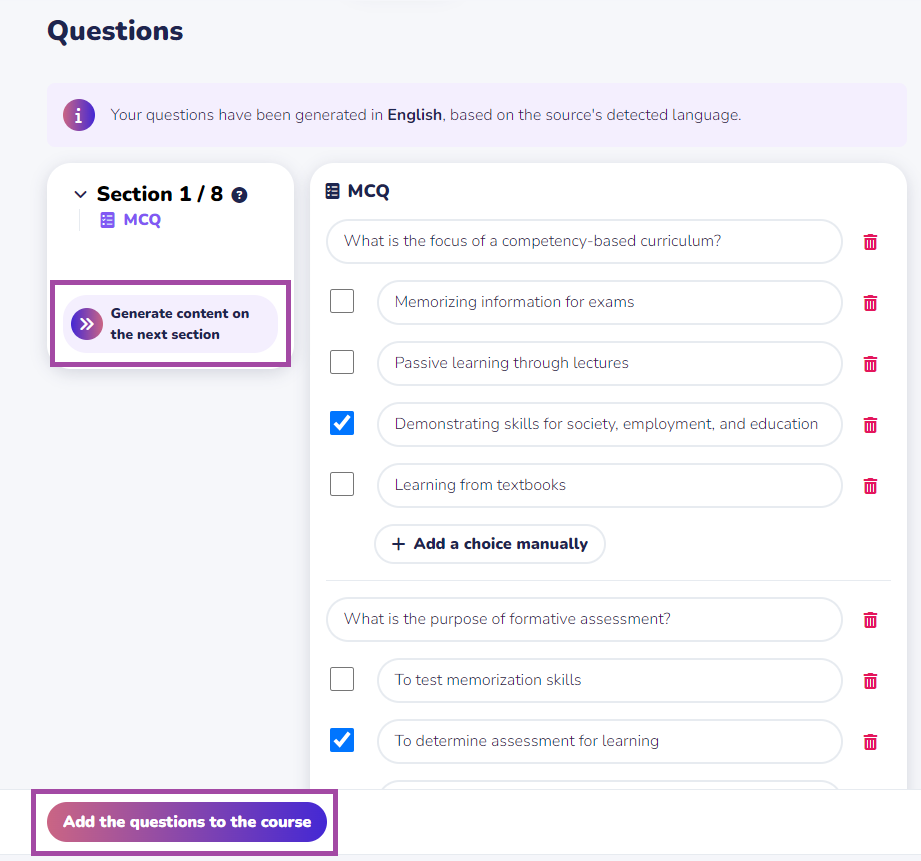
You can edit the questions and answer options proposed by the platform. If the document you have used is too long, it will be divided into multiple sections and the platform will work section by section. In the picture, you can see that the questions have been generated only for the first to the eighth section, to generate the following one, click on “Generate content on the next section”. Once you are satisfied with the questions, click on “Add questions to the course”:
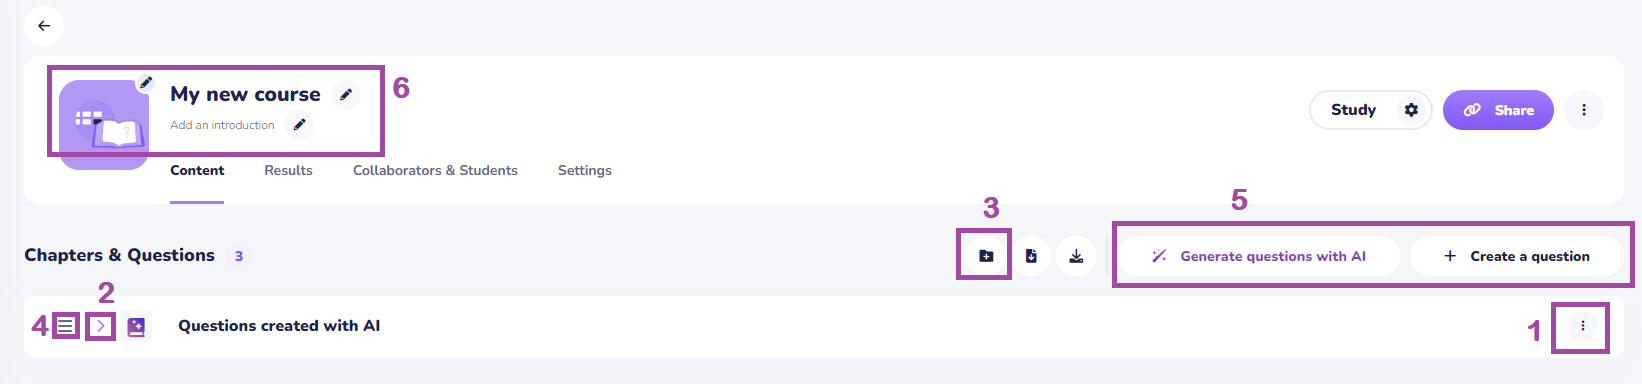
The questions are added to a chapter, by clicking on the three dots on the right, you can edit the name and the settings of the chapter (1). You can expand the chapter to see the questions by clicking on the little arrow (2). You can create a new chapter by clicking on the folder icon (3) and once you have more than one chapter you can arrange them in the order you prefer by dragging them (4). You can also create more questions yourself or with AI (5). On this page, you can also change the picture, name, and introduction of the course by clicking on the pencil icons (6):
(last modified: 16.07.2024)