
How can I make a recording on Panopto?
To start a recording you need to choose the folder by clicking on Browse in the left menu, then click on USI, on the name of the faculty and on the folder with the name of the course for which you want to make the video.
To start a recording you have to click on the “Create” in the top of the page, then on “Record a new session”.
After having clicked “Record a new session”, you have to click on “Open Panopto Recorder” in the window that will open.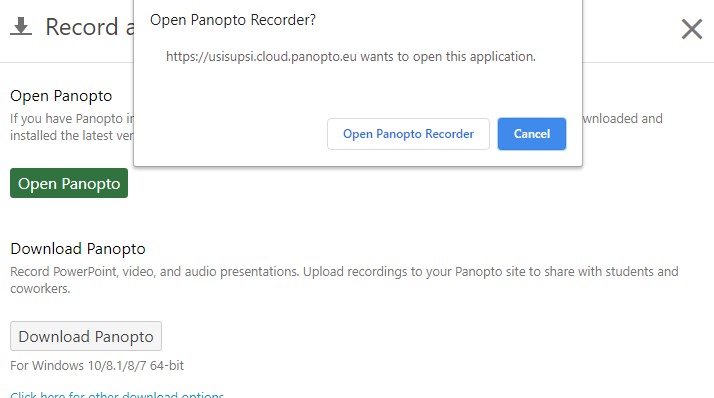
The first time you use it, a short tutorial will start, and that will help to select both the webcam and the desired microphone. Before proceeding with the recording you must set some parameters on the type of audio, quality, name of the recording and others. You have to name the file of the recording and check that the folder, in which the recording will be saved, is correct: verify that the name of the correct course is viewed near the voice “Folder”.
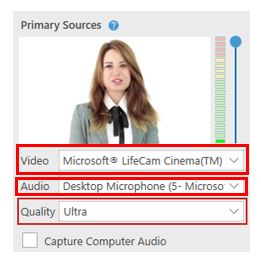
To check the audio, you have to open the drop-down menu near the voice “Audio” and select the microphone from which you want to record. After selecting the audio source, you have to check the volume by trying to speak and eventually by adjusting the slider located to the right of the audio bar.
To record the video you have to select a primary video source from the drop-down menu located near the voice “Video”. Note: select “none” if you want to record only the audio of the announcer.
For having a high-quality recording, select “Ultra” on the drop-down menu “Quality”.
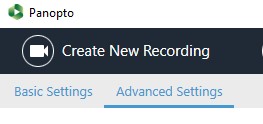
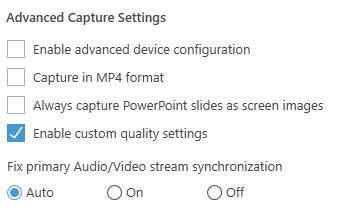
If you wanted to use even higher resolutions, you have to click on “Settings” in the top bar, then click on “Advanced Settings” and select “Enable custom quality settings” in the menu “Advanced Capture Settings”.
At the end of this process, click on “Save” at the bottom of the page. At this stage in the drop-down menu “Quality” the voice “Custom” will appear. If you select it, you can set up the parameters that you prefer.
(Last update: 24.08.2021)